REVIEW · LONDON
Night Photography Tour in London
Book on GetYourGuide →Operated by 11252821 · Bookable on GetYourGuide
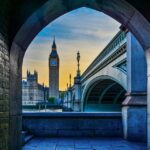
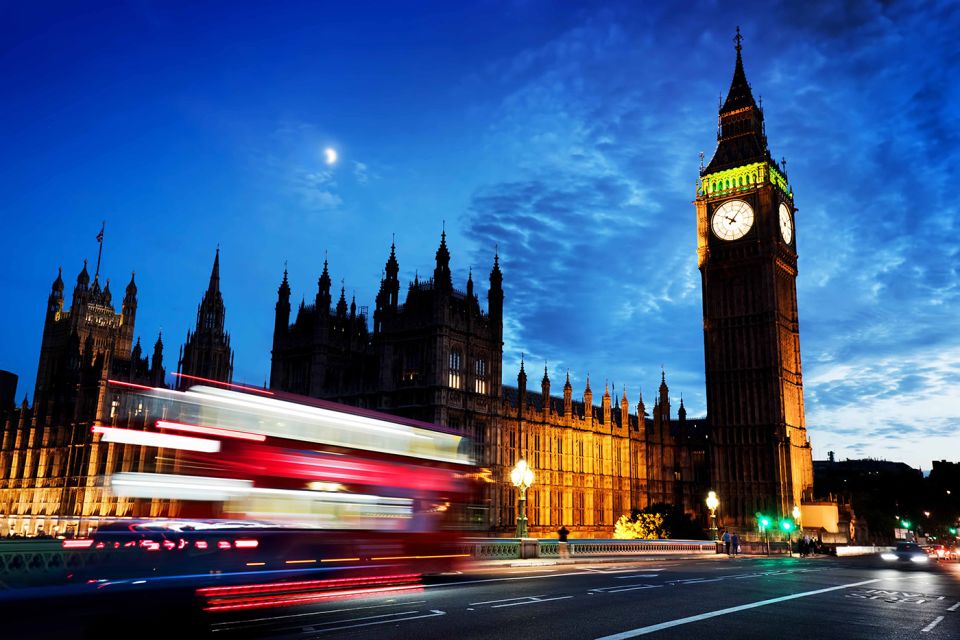
London at night looks good; photographing it is better. This is a pro-led night photo walk through Westminster and along the Thames, built for one goal: getting strong images in low light. You’ll hit major sights like the London Eye, St Paul’s, and Tower Bridge, with coaching along the way.
I especially like that the guide gives practical instruction based on your gear, whether you shoot with a DSLR, mirrorless camera, or an iPhone. I also like the focus on real compositions at night: reflections on the Thames, steady framing, and long-exposure ideas that help your photos look like London, not like blurry proof.
One key consideration: you’ll need a tripod for the best results. If you don’t have one, you can hire one for the duration for £30.
In This Review
- Key highlights worth your time
- A 2.5-hour night photo walk that’s actually paced for learning
- Meeting at Caffè Nero by Westminster Station: start where the light is
- London Eye photo stop: learning long exposure without losing the plot
- St Paul’s Cathedral stop: low-light composition that keeps detail
- Tower Bridge finish: where your best frames come together
- What your pro guide will teach you (and why it changes your photos)
- Camera and smartphone help: yes, it works for iPhones
- Tripod reality check: bring one or plan to rent
- Walking the Thames: reflections, double-decker buses, and moving light
- Price and value: $282.87 for a private group that learns, not just tours
- Who this tour suits best (and who might feel underwhelmed)
- Tips to get more from the tour before you even arrive
- Should you book this London night photography tour?
- FAQ
- What camera types does this night photography tour support?
- How long is the night photography tour in London?
- Where do I meet and where does the tour end?
- Do I need a tripod for the tour?
- What’s included besides the photo stops?
- Is the tour wheelchair accessible and is the guide in English?
Key highlights worth your time

- 2.5 hours of guided shooting with a live pro who helps you actually make better photos, not just point-and-shoot sightseeing
- Coaching for your exact device, including smartphones, so you’re not stuck translating camera terms on the fly
- Night-composition focus: Thames reflections, landmark lighting, and how to frame fast-changing scenes like buses and crowds
- Landmark sequence that makes sense: London Eye area → St Paul’s → Tower Bridge finish
- Tripod support available if you show up without one, so you’re not forced into worse images
A 2.5-hour night photo walk that’s actually paced for learning
A night photography tour works only if the timing is realistic. This one is short on purpose—about 2.5 hours—so you can spend more time shooting and adjusting, and less time rushing between stops. You’re also in a private group (up to 5), which means your guide can slow down when you need it.
The tour is built around walking the Thames with big, photogenic backdrops on both sides of the river. That matters because night photos are about more than “where”—they’re about how light moves across water, stone, and glass. You’ll get a guided structure for that, and you’ll learn techniques you can reuse the next time you’re in a city after dark.
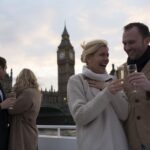
You can also read our reviews of more evening experiences in London

Meeting at Caffè Nero by Westminster Station: start where the light is
You meet outside Caffè Nero near Westminster station, right in the core area where London’s evening lighting is already doing the work for you. The advantage of starting here is simple: you’re not trekking across the city before the first decent shot.
This is also a good warm-up spot for low-light habits. Even before you reach the main viewpoints, your guide can check your gear, help you steady your stance, and get you thinking about shutter speed, focus, and how you’ll frame moving elements.
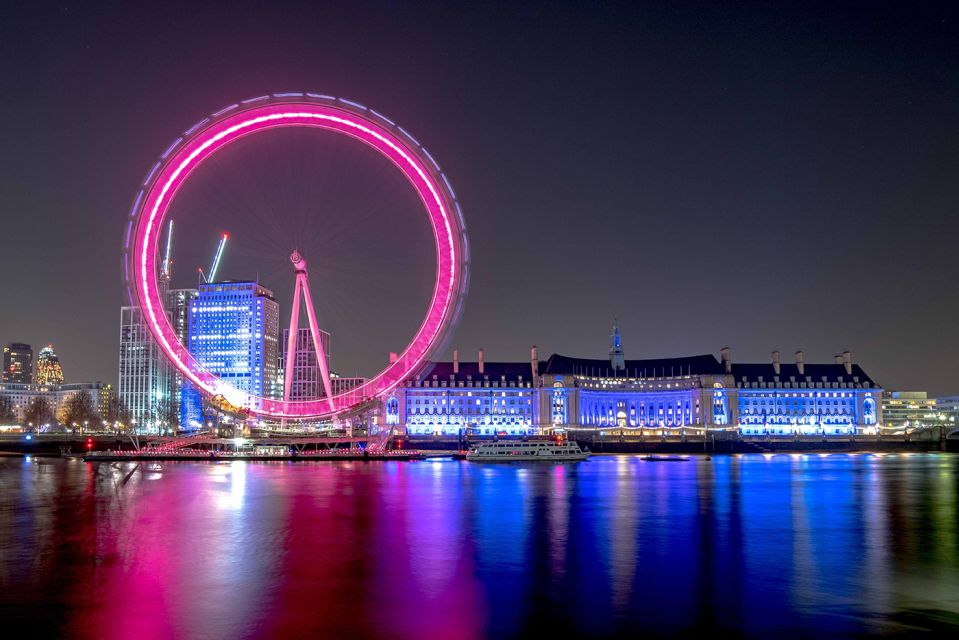
London Eye photo stop: learning long exposure without losing the plot
The London Eye stop is a full 45 minutes, and it’s one of the best places in London to practice night reflections. Water turns streetlights into soft streaks, and the Eye’s illumination gives you strong contrast for learning exposure.
Here’s what makes this stop valuable: you’ll work on night settings that can feel confusing at first. Your guide will coach you through low-light shooting and long exposure ideas, so you understand what changes when you lengthen the shutter time. You don’t just copy a setting—you learn what it’s doing and when to use it.
You’ll also deal with real London movement: the river traffic and the constant flow of lights. Your guide’s advice helps you decide when to wait for steadier moments and when it’s fine if the scene has motion. That’s how night photos go from “technically correct” to “actually cinematic.”
Possible drawback: if you’re expecting a fast grab-and-go selfie experience, this stop will feel more hands-on. The tour is about technique, so you’ll spend time tweaking instead of only shooting one frame.
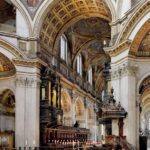
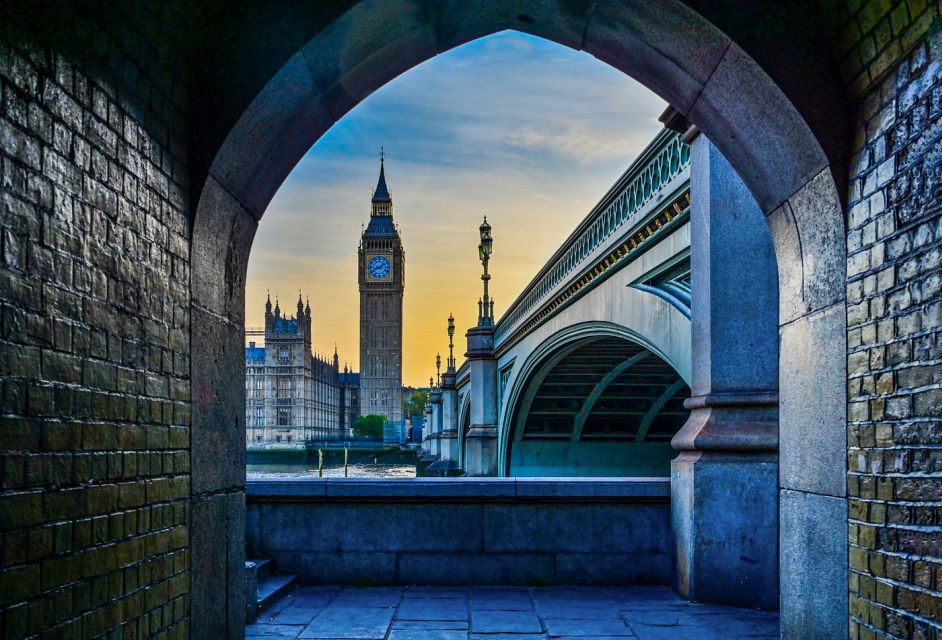
St Paul’s Cathedral stop: low-light composition that keeps detail
Next up is St Paul’s Cathedral, another 45-minute photo stop. St Paul’s is perfect for night learning because it combines dramatic lighting with architectural edges. Straight lines matter here, and small framing decisions can make your photos look polished instead of chaotic.
At this point, your guide can help you refine focus and stability. Low-light shots often fail in two ways: the subject is sharp but the background is too bright, or the city looks nice but your subject turns mushy. With coaching, you can adjust exposure so the cathedral reads clearly without blowing out highlights.
You’ll also get help thinking through composition. The “right” angle isn’t only about what you see—it’s also about how your frame balances the cathedral with the surrounding glow. This is where you start to understand why reflections along the Thames are so important: they add a second layer of depth to the same landmark.
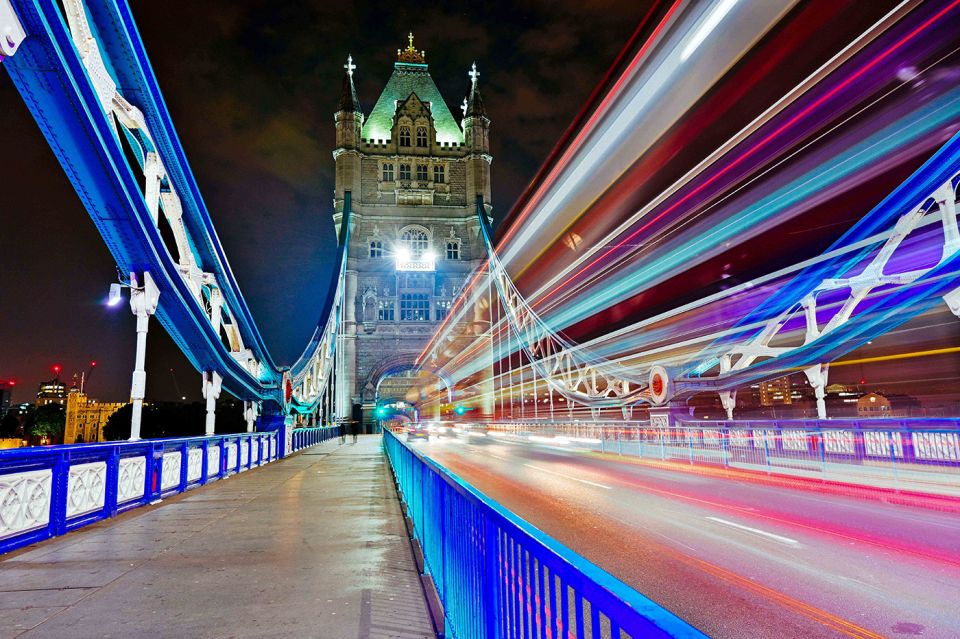
Tower Bridge finish: where your best frames come together
The final Tower Bridge stop gives you 45 minutes to put it all together. Tower Bridge is the kind of landmark that rewards both patience and good technique. At night, the bridge lights and the river reflections create multiple “photo layers” in one view—bridge structure, light trails, and the mirror-like surface below.
This is also where your guide can help you decide what to emphasize. Do you want crisp edges and controlled exposure, or a moodier look with longer shutter trails? The tour format makes that question practical because you can test, review what you see, and adjust without feeling like you’re on a deadline.
Even if you’re shooting on a smartphone, this finish matters. Phone cameras can handle night lighting well, but they still benefit from knowing when to hold steady, when to tap-to-focus, and how to set up your shot so the phone can work in your favor.
You can also read our reviews of more photography tours in London


What your pro guide will teach you (and why it changes your photos)
The most praised part of this tour is the teaching style. A guide named David gets high marks for being patient and supportive, and for helping people learn both a camera and an iPhone. That’s a big deal, because night photography is one of those activities where frustration is easy.
Here’s what you can expect your guide to cover during the walk:
- Low-light shooting basics: how to manage exposure so the city doesn’t overpower your subject
- Long exposure technique: how shutter speed affects light trails and reflections
- Personal coaching tailored to your skill level
- Practical composition advice at each stop, tied to what’s in front of you
That personal approach is the difference between a tour that’s pretty and one that improves your results. You’ll leave with more than photos—you’ll leave with a mental checklist you can use again.
Camera and smartphone help: yes, it works for iPhones
This tour is designed for all digital cameras, including DSLRs, mirrorless cameras, and smartphones. That means your guide won’t treat you like you’re using the “wrong” tool. Instead, they’ll translate night-photo needs into something workable for your device.
If you’re on an iPhone, your biggest win is understanding how to position yourself and how to stabilize your shot. Phones can be great with city lighting, but they still need you to give them a clean, steady frame and a clear subject.
If you’re using a DSLR or mirrorless camera, your guide’s coaching helps you pick settings that match the scene—especially exposure and stability for long or low-light shots.
Either way, you’ll benefit from learning the same core idea in different forms: night photography is about controlling light, not hoping it looks right.
Tripod reality check: bring one or plan to rent
A tripod is required for this tour, because low light and long exposure go together. If you don’t have one, you can hire the tour’s tripod for £30 for the duration of the experience.
This matters for value: the tour includes the coaching, but your results also depend on your gear readiness. If you show up without a tripod and expect handheld miracles, you’ll end up with fewer options and less control.
Practical tip: even with a tripod, take a moment to stabilize how you set it down. Uneven ground or a loose pan can ruin sharpness. When you’re practicing night scenes, those little setup choices count.
Walking the Thames: reflections, double-decker buses, and moving light
A fun part of the experience is that it’s not only about landmarks. You’ll be watching and shooting how London moves at night—especially along the Thames.
Reflections are a major theme. They turn the same landmark lighting into something more dramatic, and they also teach you exposure and composition. If your reflection is too bright or your shutter speed is off, your reflection can turn into a washed-out blob. With coaching, you learn how to balance the scene.
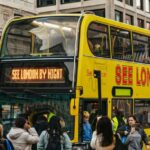
You’ll also encounter everyday visual extras like double-decker buses and the flow of city lights. That’s not background noise; it’s part of the atmosphere. The guide’s instruction helps you decide whether to freeze the scene or let motion paint light into your frame.
Price and value: $282.87 for a private group that learns, not just tours
The price is $282.87 per group (up to 5). That structure changes how you should think about value.
If you’re going solo, you might feel the cost more strongly, because you’re paying for a full guide time slice. But the private format means you’re not waiting your turn or competing for attention. For night photography, that matters because your best shots usually depend on quick feedback—what to change, and why.
If you’re going with a small group (friends or a family unit), the value improves quickly. You’re essentially splitting the cost of a pro photo guide who helps with both cameras and smartphones, plus a learning e-guidebook after the tour.
Also, the tour includes instruction designed to keep paying off. The e-guidebook you receive after the experience helps you practice with what you learned, instead of forgetting settings the next day.
Who this tour suits best (and who might feel underwhelmed)
This tour is a strong match for you if:
- You want to learn night technique, not only see landmarks
- You’re using a DSLR, mirrorless camera, or smartphone and want targeted help
- You value a guide who can adjust to your skill level
- You like the Thames and want reflections and city-light mood in your photos
It may not be ideal if you’re only interested in a casual, rapid sightseeing loop. This is a shooting-focused experience. You’ll spend time setting up, adjusting, and trying again.
Tips to get more from the tour before you even arrive
You can make the experience smoother by arriving ready to set up quickly:
- If you have a tripod, bring it. If not, budget for the £30 rental
- Charge your device(s) fully and bring any needed cables
- Wear shoes that handle walking on uneven sidewalks near the river
- If you’re switching between smartphone and camera, decide your “primary” device for the first part, then experiment later
One more smart move: set a small goal. For example, aim for one photo that uses long exposure to control light trails, and one that prioritizes sharp detail on a landmark. Your guide can help you make both happen.
Should you book this London night photography tour?
If you want better night photos with less guesswork, I think this is worth booking. The combination of a short, well-paced 2.5-hour route and a pro guide who teaches in a patient, practical way (with help for both camera and iPhone) is exactly what separates a fun night out from a genuinely useful photography lesson.
Book it if you’re ready to slow down, set up a tripod, and learn. You’ll leave with landmark shots you’ll actually be proud of—and with techniques you can reuse the next time London turns on its lights.
If you’re mainly after quick sightseeing photos, you might find the learning time a little intense. But if you care about how your images look, this tour is built for that.
FAQ
What camera types does this night photography tour support?
It’s suitable for all types of digital cameras, including DSLRs, mirrorless cameras, and smartphones.
How long is the night photography tour in London?
The tour runs for about 2.5 hours. Starting times vary, so you’ll need to check availability.
Where do I meet and where does the tour end?
You meet outside Caffè Nero near Westminster station. The experience ends at Tower Bridge.
Do I need a tripod for the tour?
Yes. If you don’t have one, you can hire a tripod for £30 for the duration of the tour.
What’s included besides the photo stops?
You get a 2.5-hour tour with a professional photography guide, expert advice on low light and long exposure, and a don’t-stop-learning e-guidebook after the tour.
Is the tour wheelchair accessible and is the guide in English?
Yes, the tour is wheelchair accessible, and the live tour guide speaks English.